
Easy Thrifted Halloween Decor
I will admit, I am a little behind with my Halloween decorating this year. But, these four thrifted DIYs I'm about to show you are so easy, they take no time at all!
DIY Paper Bats
For this DIY, all you need is some black construction paper, scissors, a pencil, and some wall-friendly tape.
Start by folding one piece of paper in half, hamburger-style. Next, with your pencil, draw out a half bat. You can either freehand this, or reference a photo.

Cut your bat out along the lines.


Finally, with your wall-friendly tape (I love blue painters tape), put a piece on the back (the pointed fold) and stick to the wall!


Repeat, repeat, and repeat until you have a wall full of cute and spooky bats!

DIY Potion Bottles
This DIY is inspired by a TikTok made by @blynndarwin. It is such a fun and creative idea, I just had to try it myself! For this project, you will need some bottles (I reused/thrifted mine), printable potion labels (these are the ones I used), Mod Podge, Aztec Secret Indian Healing Clay, and some hairspray or spray adhesive.

Make sure your bottles are completely clean. Cut out your desired label and apply Mod Podge on the back with a brush or sponge. Carefully place it on your bottle and smooth it out. Using a rubber band or hair tie, secure the label in place while it dries.


Once dried, spray your bottle with a light coat of hair spray or spray adhesive. I used hairspray, but might switch to an adhesive if I try this again! With a sifter or spoon, sprinkle some of your clay all over the bottle and brush off the excess. Repeat this process with all of your bottles.

Style your potion bottles with some spooky vintage items, and you have a cute Halloween shelf!


Classic Skull
This DIY is arguably the easiest of them all – I found a cool skull at the thrift store, but it was covered in purple glitter, which was not my vibe. To remedy this, I just gave it a couple coats of white spray paint!

I think the glitter gave it a cool texture, and it is the perfect classic skull now!

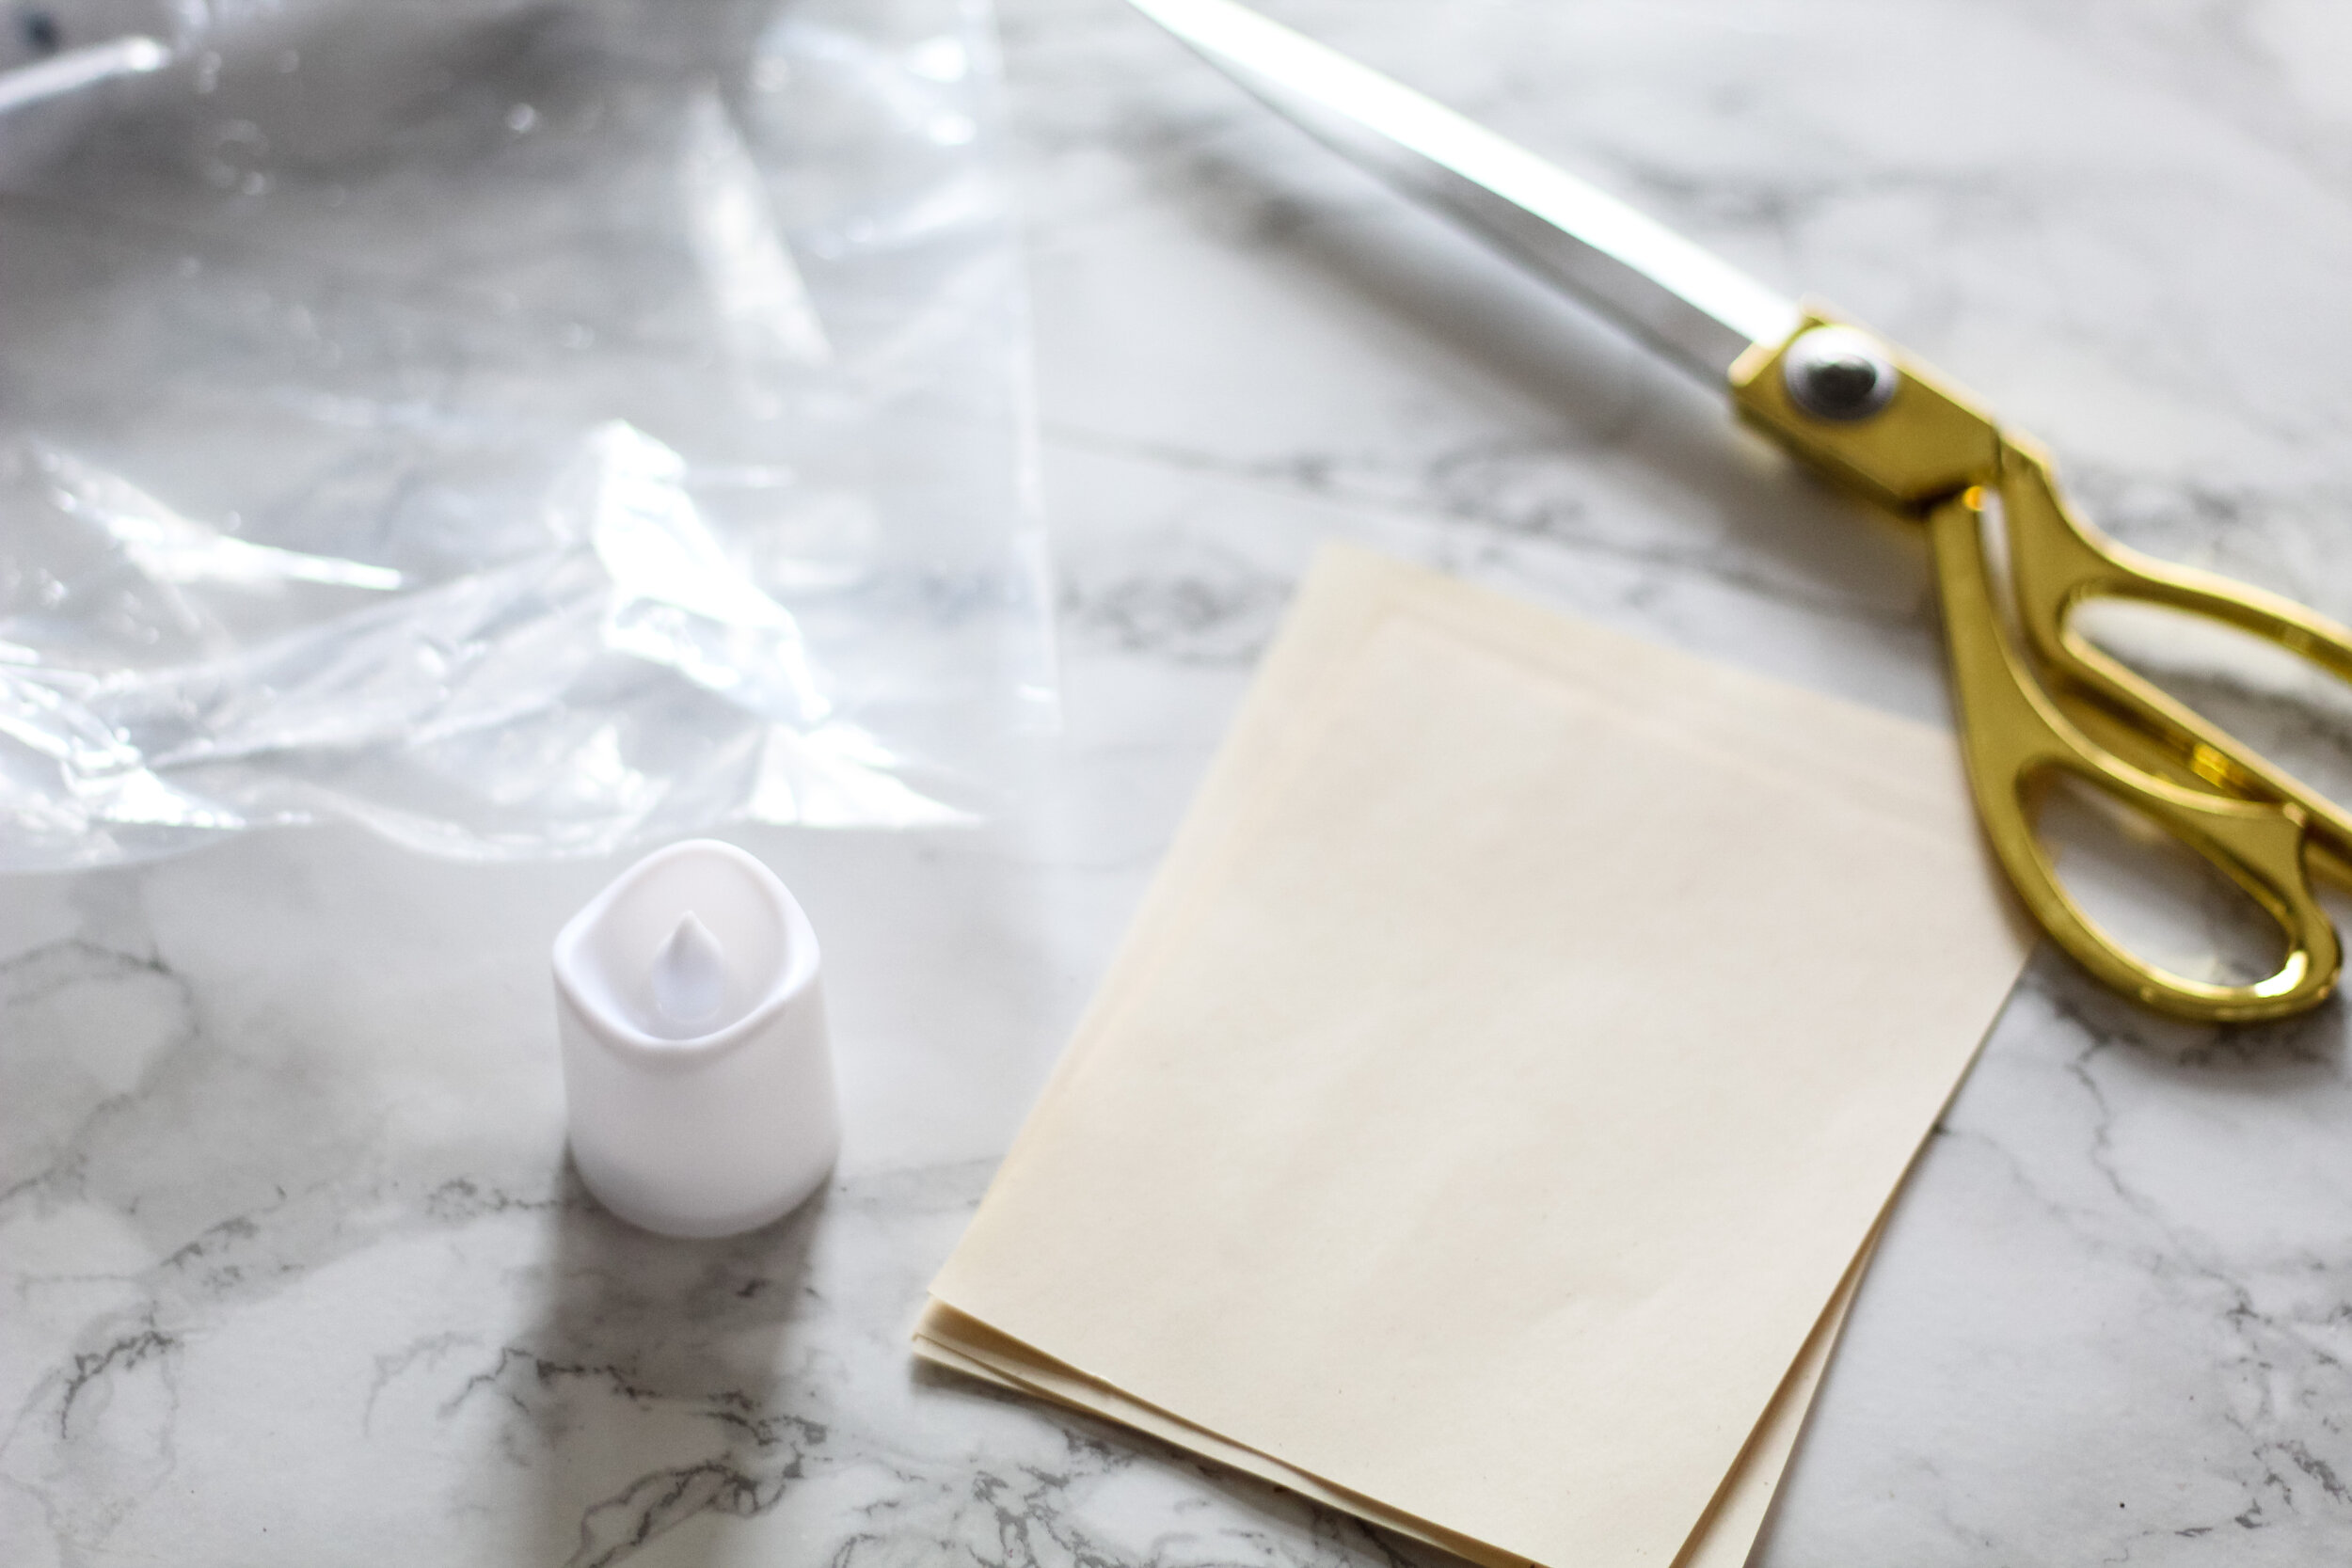
DIY Floating Candles
This is another DIY inspired by TikTok – Mojo Provo made a full tutorial on how to do this. My version is slightly different, based on what I had. For this, I used some battery-powered candles I found at the thrift store, some paper, hot glue, and paint.
I started by cutting my paper into sections. Then I wrapped it around the candle, leaving a little bit at the top. My candles' "flames" did not stick up very far, so I would suggest finding ones that have a more visible "flame". Once wrapped around, secure the paper with some hot glue.

Then, using your hot glue again, start squeezing it all along the top, letting sections drip down to create the look of melted wax. Let harden completely.
Once hardened, take some paint and paint the hot glue. My paper was quite thin, so I gave that a coat of paint as well to try to make it more opaque. I'd suggest finding a thicker paper or using toilet paper/paper towel rolls like Mojo Provo.


After a couple coats of paint, I used some fishing line and cut pieces in varying lengths. This will make the candles look like they are floating.

To attach the line, I just used a dab of hot glue on each side of my candle so that the line created a loop over the candle. While that was hardening, I attached some clear Command hooks on my ceiling (tacks would work too).

Finally, just hang the fishing line loop onto the hooks!


I hope you enjoyed these easy thrifted Halloween decor DIYs! Don't forget to follow @stringandhoney on Instagram and tag us in your creations!
Happy Halloween!